Is your Windows 10 hard drive feeling a little crowded lately? You can clean your hard disk and improve speed by getting rid of files and moving data to other devices. Here are easiest ways to free up PC space quickly.
Empty the recycle bin

Ah, the beloved old recycle bin. It’s nice to know that some things about Windows haven’t changed in a long time. Windows 10 still uses the recycle bin to hide all the files you want to throw away, and emptying it out can prove effective in freeing up extra space.
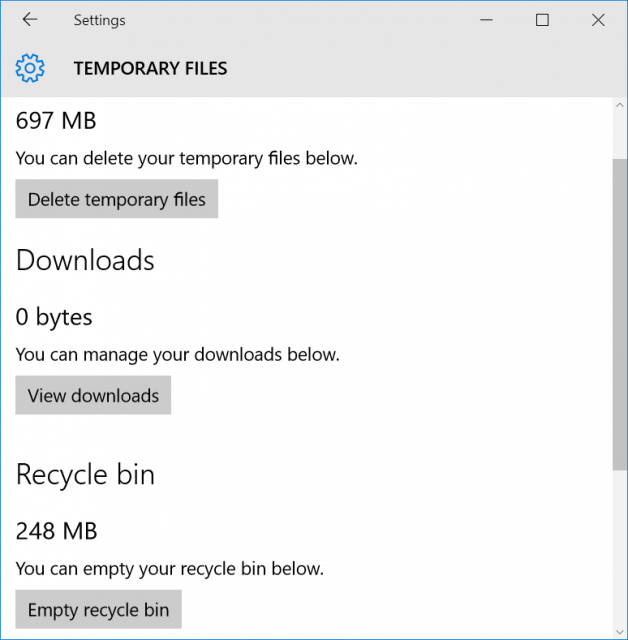
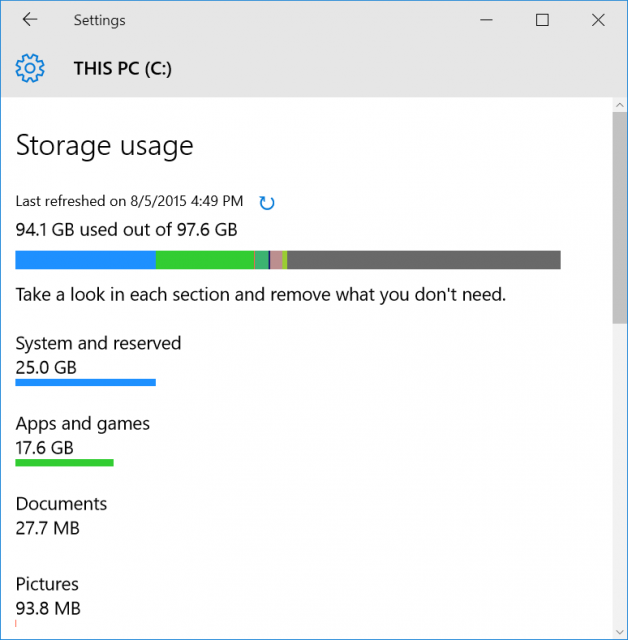
You can right-click on the recycle bin icon for the option to directly empty it. If you can’t find the icon, then head to the Start menu, go to Settings, select System, then go to Storage. You will be able to select local storage under This PC – look for and click Temporary files. This will bring up any locations for temporary files, including Recycle bin. Under Recycle bin, select Empty recycle bin, and confirm your decision. That’s all it takes!
Note: Emptying your recycle bin will only help to clean your Windows 10 hard disk if there’s a lot of stuff in that bin. When you first download Windows 10 – and long afterward, depending on your desktop habits – emptying the recycle bin may not affect your hard drive much at all. If you aren’t sure, take a peek inside your bin and see how full it is first. A few GBs worth of data can still make a difference.
Delete temporary files and downloads

Remember how emptying the recycle bin took you through the Temporary files section? If you want to broaden your hard drive cleaning activities, then you can delete all temporary files. What exactly are you getting rid of here? Well, Windows temp files are used to manage document editing, some application processes, various printing tasks, and so on. These files are usually automatically deleted, but sometimes they hang on. Get rid of them all by selecting Delete temporary files in the Temporary files folders.
Another time files are automatically created occurs when you download anything from the Internet. These files pop up in your Downloads and tend to stick around – which means they can quickly stack up if you are downloading a lot of content to your Windows 10 desktop.
You can also find downloads in the Storage section of your desktop (Settings > System > Storage). Select This PC and go back to Temporary files. You can visit Downloads from this section. Select View downloads and delete any files that you no longer need by highlighting them in groups or individually. This is a great way to clear out space manually without accidentally deleting something that you’ll need later.
Uninstall apps
If you were really excited about all the Windows 10 apps and updates, you may have downloaded a few too many during the first honeymoon weeks with the new OS, leading to an eventual slow-down or lack of space for other content, especially on some of the smaller, lighter Windows devices (looking at you, Surface tablets). Some apps can take up a lot of space – the trick is finding which hog the most hard drive room, and which you can live without.
From the Start menu, go to Settings, select System, then select Apps & features. Here you can see all the apps downloaded. Windows 10 allows you to arrange them by various statistics – if you have a long list, arrange them by the amount of hard drive space they are taking up. See which apps are hogging the most data, and delete those that you can live without. Doublecheck that the app doesn’t have anything too valuable on it, then select it and choose Uninstall.
Change how you use OneDrive
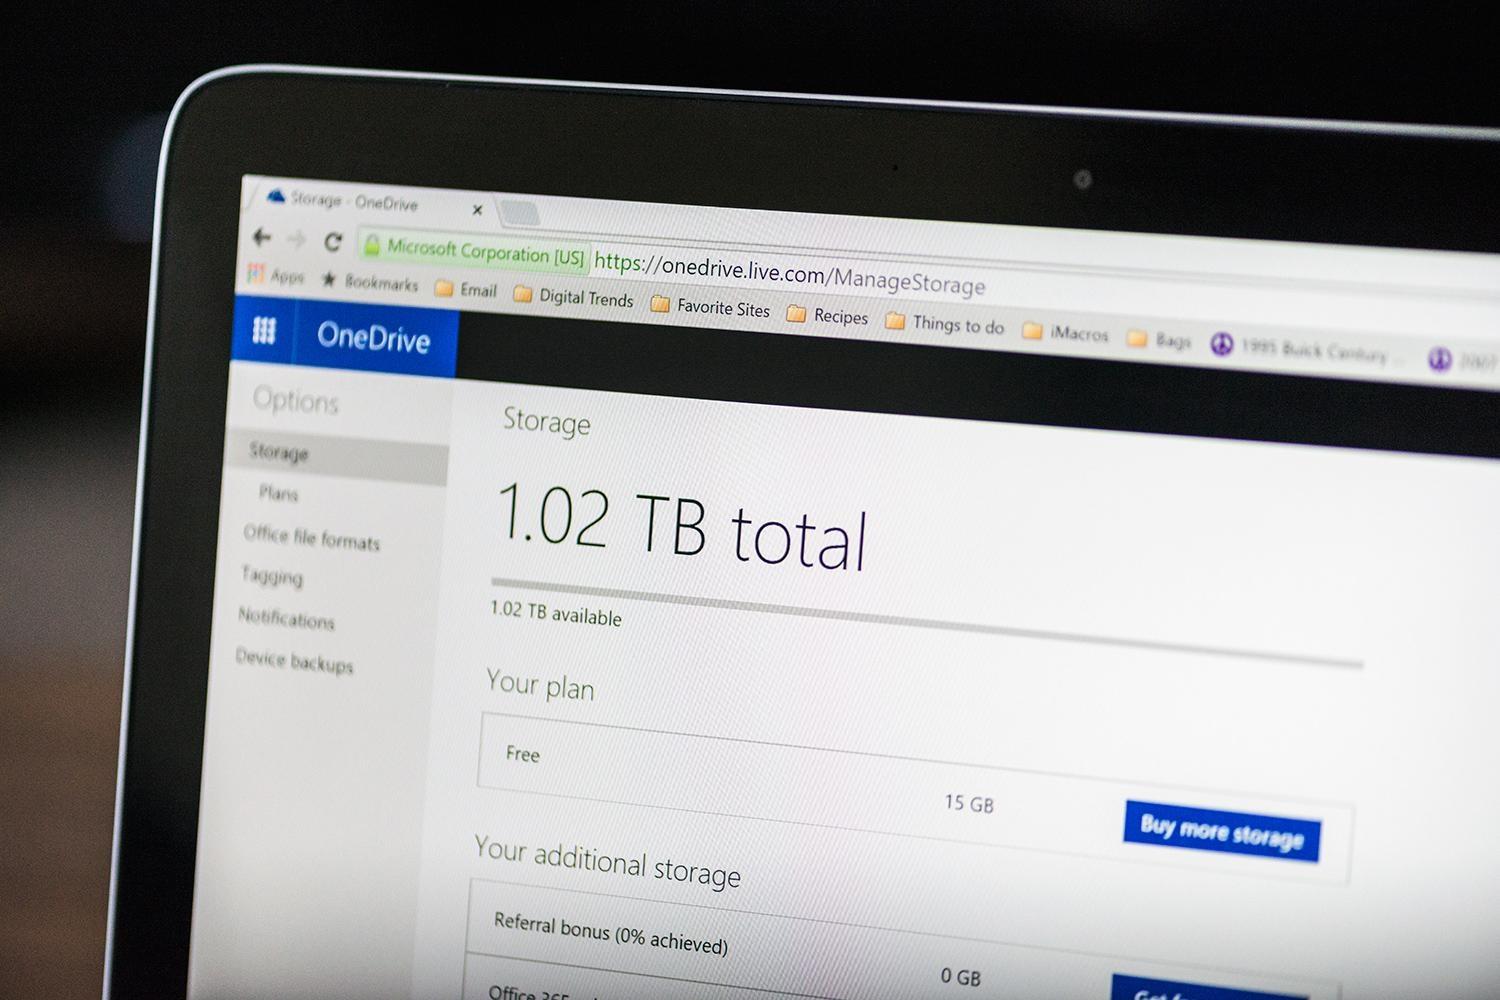
OneDrive is a cloud service for Windows, so you would think that all the cloud data it uses would help free hard drive space, not take it up. This is true, except for one particular OneDrive feature – the ability to save files offline, which you may not even know that you are using.
Sometimes this is handy. If you are dealing with sensitive files or big projects with some sharp deadlines, it’s a good idea to have a backup. But if you are using OneDrive and automatically saving offline for every file and doc at work, school or home, then you probably wasting hard drive space.
Related: This is how OneDrive works in Windows 10
The OneDrive icon should be waiting on the right side of your taskbar (it may be lurking under the Show hidden icons arrow). Click on the cloud icon and choose Settings, then select the Choose folders tab. This will take you to all the files types that OneDrive is saving offline, and how much space each are taking up. Unselect all the OneDrive folders that you don’t absolutely need. Remember, you can still access all these files online at OneDrive.com, so you aren’t really losing anything.
Use your Xbox One
Microsoft platforms are growing increasingly interconnected, and the convergence is very apparent in Windows 10, which connects more freely to other Microsoft devices like the Xbox One game console. If you have an Xbox One, you can use it to help save some space by swapping out select apps and data.
Related: Xbox One to receive Windows 10 upgrade in late 2015
An Xbox One can hold 500GB of content, including a variety of network and music apps. You can stream content from the Xbox to your Windows 10 PC with just a few steps. This allows you store data on the game console and free up space on your PC, if you have content you only use while at home. Just remember to delete the data from your PC after you transfer it to the Xbox.
Use an external drive
From USB drives to full external hard drives, one of the simplest ways to clean up your hard drive on Windows 10 is moving extra data outside of your computer.
First, hook up a hard drive and make sure that it is properly formatted and ready for uploads. Dragging and dropping a file into the new drive will create a copy of the file, allowing you to erase the original.
However, you can also move large chunks of files at one time. Open your File Explorer on the taskbar and select all the files you want to move outside your PC hard drive. Once they are selected, go to the Home menu, select Move to, then select Choose Location. Pick your external drive from the list, and it will drop all files at that destinations – you don’t even have to erase anything afterward.
No comments:
Post a Comment